If you’re exploring continuous integration and deployment, Jenkins is a powerful tool that simplifies automation tasks. In this guide, we’ll walk you through installing Jenkins on an Ubuntu 24.04 EC2 instance. Whether you’re new to Jenkins or looking for an easy setup, this tutorial is tailored to you.
Prerequisites
Before we begin, make sure you have the following:
- AWS Account: You’ll need an active AWS account to launch an EC2 instance. Sign up here.
- Basic Knowledge of Linux: Familiarity with terminal commands will help.
- EC2 Instance: An Ubuntu 24.04 instance running with a security group allowing port 8080. You can follow this beginner’s guide to create an Ubuntu machine.
Step 1: Update Your System
Once connected to your EC2 instance, updating your system is crucial. This ensures that all installed packages are the latest versions, minimizing compatibility and security issues.
Run the following command to update:
sudo apt update

This command performs:
apt update: This command fetches the latest package lists from the configured repositories. It updates your local metadata about available packages, including new versions and dependencies, but does not install or upgrade any packages.
apt upgrade -y: you can try this command after above step, this command upgrades all installed packages to their latest available versions based on the current package lists (retrieved byapt update). It installs the updated versions while keeping the existing packages and their configurations.
Step 2: Install Java
Jenkins is a Java-based application, and it requires Java to run. As per the official Jenkins installation guide, we will use Java 17.
To install Java, run the following command:
sudo apt install fontconfig openjdk-17-jre
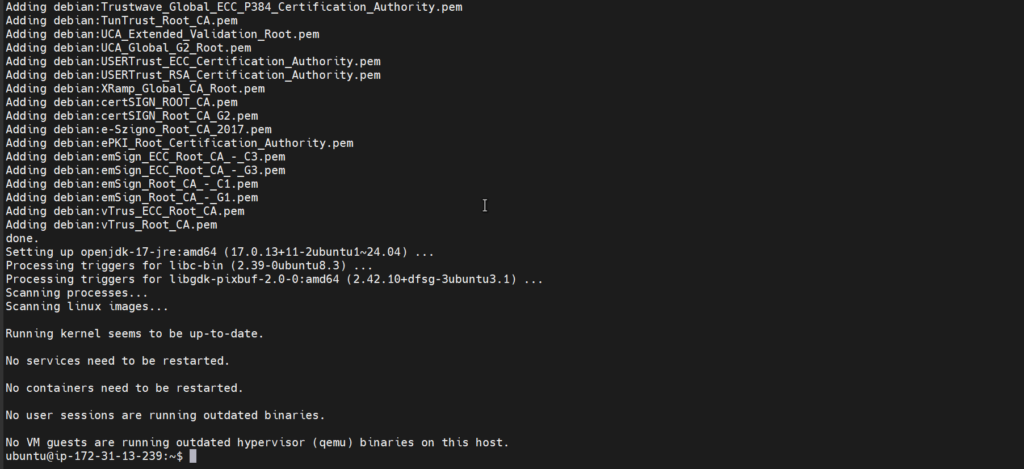
After the successful installation, you will see a response like the above image, To confirm the installation, check the Java version:
java -version
Expected output:
- It should display
openjdk version "17.0.8"
Java acts as the runtime environment for Jenkins, enabling it to execute.
Step 3: Add Jenkins Repository
To install Jenkins, we need to add its official repository to our system. This ensures that we’re installing the latest stable version. copy the below command and paste it into your terminal.
sudo wget -O /usr/share/keyrings/jenkins-keyring.asc \
https://pkg.jenkins.io/debian/jenkins.io-2023.key
echo "deb [signed-by=/usr/share/keyrings/jenkins-keyring.asc]" \
https://pkg.jenkins.io/debian binary/ | sudo tee \
/etc/apt/sources.list.d/jenkins.list > /dev/null
sudo get update
Explanation
- Add the Jenkins key:
sudo wget -O /usr/share/keyrings/jenkins-keyring.asc \ https://pkg.jenkins.io/debian/jenkins.io-2023.key - Add the Jenkins repository to your package manager:
echo "deb [signed-by=/usr/share/keyrings/jenkins-keyring.asc]" \ https://pkg.jenkins.io/debian binary/ | sudo tee \ /etc/apt/sources.list.d/jenkins.list > /dev/null - Update your package list to include Jenkins:
sudo apt updateNow your system is aware of the Jenkins package and ready for installation.
Step 4: Install Jenkins
Install Jenkins with the following command:
sudo apt-get install jenkins
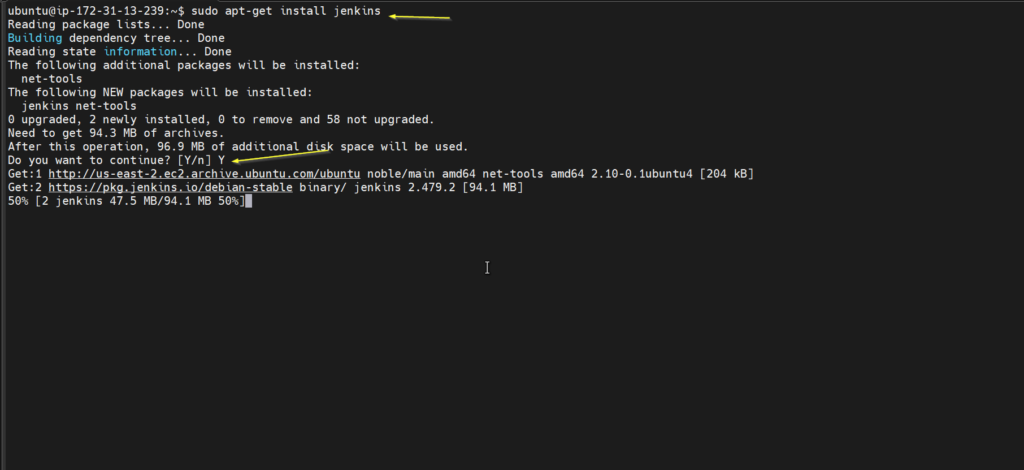
Here’s what happens:
- Downloads Jenkins from the added repository.
- Installs all required dependencies.
After installation, start the Jenkins service:
sudo systemctl start jenkins
Enable Jenkins to start on boot:
sudo systemctl enable jenkins
Check if Jenkins is running:
sudo systemctl status jenkins
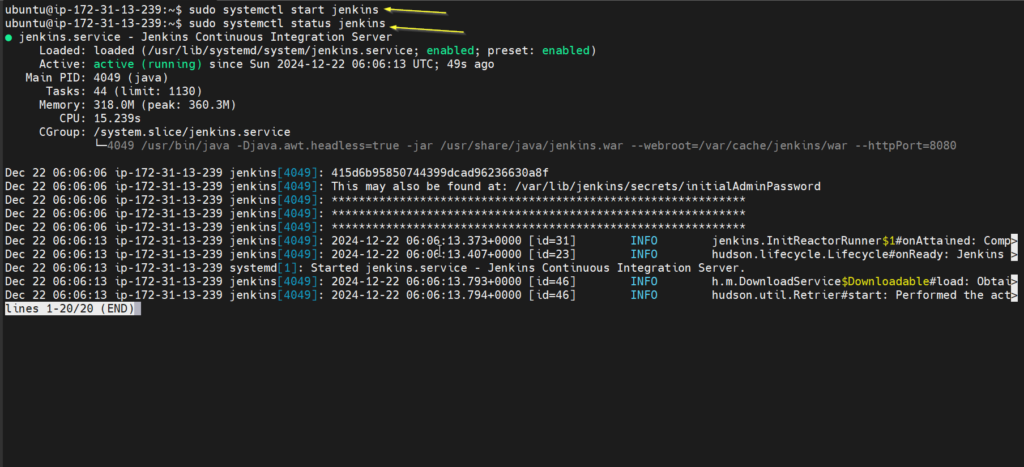
If it’s successful, you’ll see a message indicating Jenkins is active and running. like the image shown above
Step 5: Configure Firewall Rules
By default, Jenkins listens on port 8080. To access Jenkins from a browser, ensure the firewall allows traffic on this port.
For Ubuntu’s UFW:
- Enable UFW if it’s not already active:
sudo ufw enable - Allow OpenSSH and Jenkins traffic:
sudo ufw allow OpenSSH sudo ufw allow 8080 - Verify the rules:
sudo ufw status
This configuration ensures Jenkins is accessible while keeping other ports secure.
Step 6: Update Security Group Rules
Before accessing Jenkins, ensure that the security group (SG) associated with your EC2 instance has an inbound rule allowing traffic on port 8080. This is necessary to access the Jenkins web interface from your browser.
- Select your EC2 instance to view its details.
- Under the “Security” tab, click on the “Security Groups” linked to your instance.
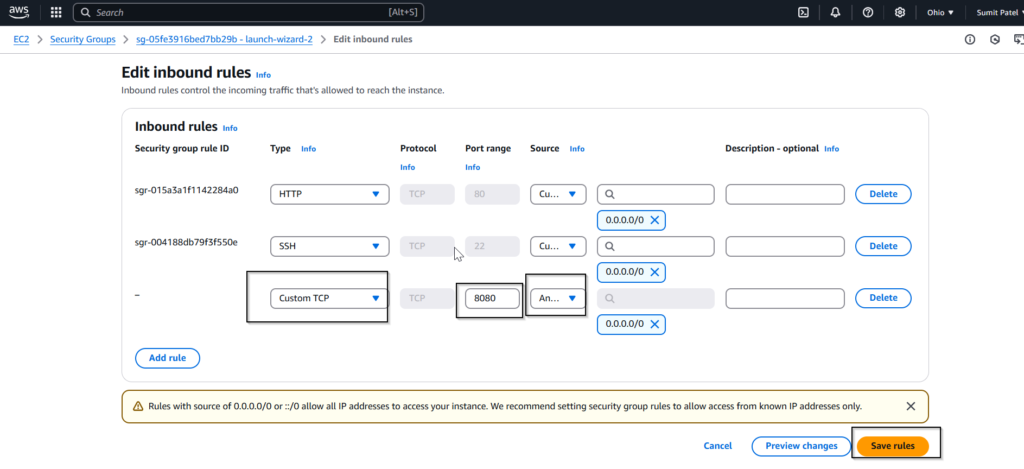
- In the Security Group settings, go to the “Inbound rules” section and click “Edit inbound rules”.

- Add a new rule with the following details:
- Type: Custom TCP Rule
- Protocol: TCP
- Port Range: 8080
- Source: Anywhere (0.0.0.0/0) or restrict it to your IP for better security.
- Click “Save rules” to apply the changes.
Step 7: Access Jenkins Web Interface
Now that Jenkins is installed and the firewall is configured, it’s time to access it via a web browser:
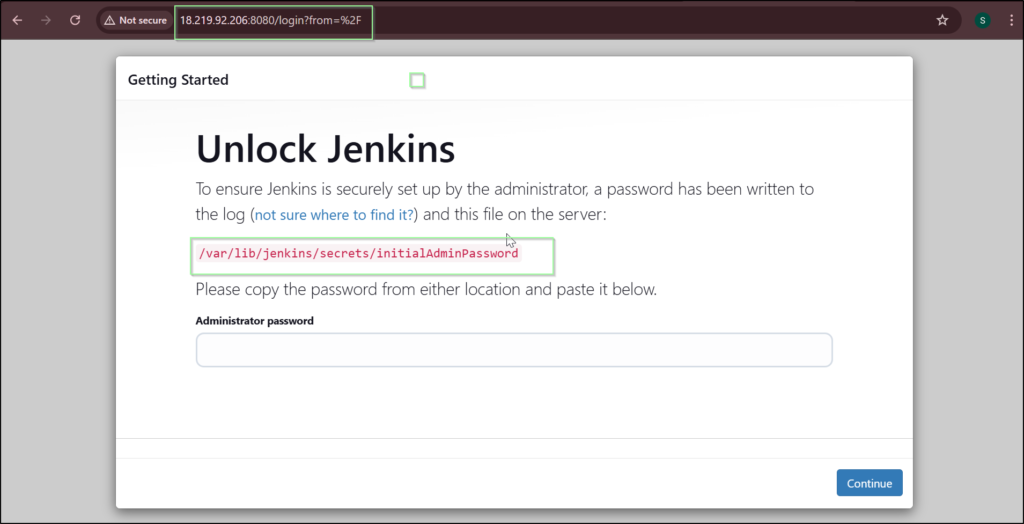
Open your browser and navigate to: http://<your-ec2-public-ip>:8080 Replace <your-ec2-public-ip> with the public IP of your EC2 instance.
You’ll see an “Unlock Jenkins” page. To retrieve the initial admin password: sudo cat /var/lib/jenkins/secrets/initialAdminPassword Copy the password displayed in the terminal.

Paste the password into the web interface and click Continue.
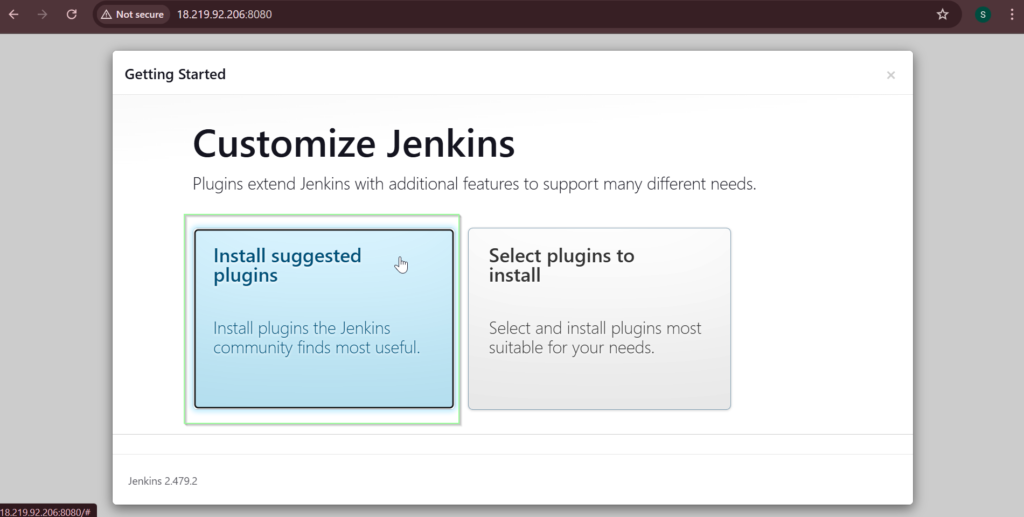
Install recommended plugins when prompted.
Create an admin user to complete the setup.
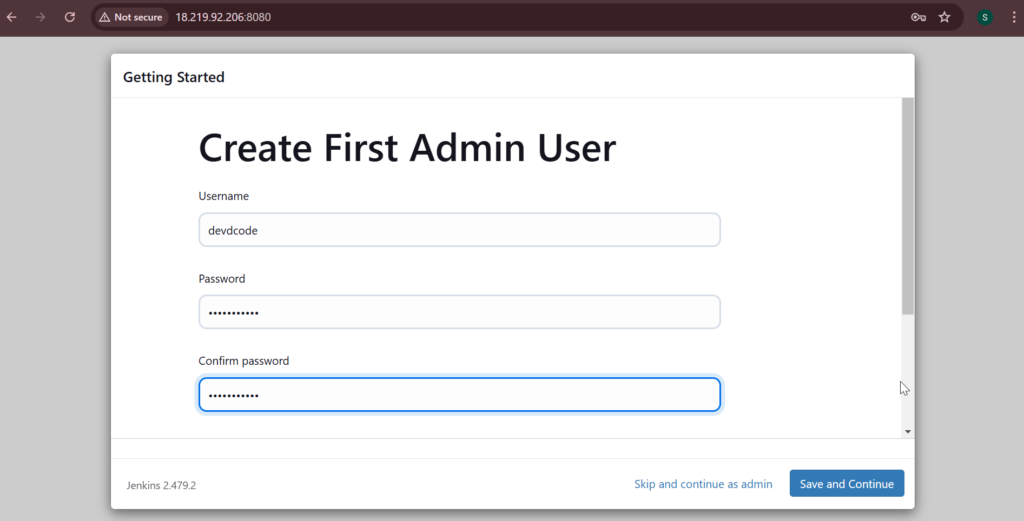
Jenkins is now ready for use.
Step 8: Secure Your Jenkins Instance
For production environments, securing Jenkins is essential. Here’s how:
- Use HTTPS: Configure SSL for encrypted communication. Let’s Encrypt is a free and reliable option.
- Restrict Access: Update your EC2 security group to allow access only from trusted IPs.
- Keep Jenkins Updated: Regular updates ensure security patches and new features.
Additional Resources
- Jenkins Official Documentation
- How to create EC2 Ubuntu Machine
- Securing Jenkins
- Setting Up Automated CI/CD with Jenkins and GitHub: A Practical Guide
Conclusion
Setting up Jenkins on an Ubuntu 24.04 EC2 instance is a straightforward process. With Jenkins, you can automate your CI/CD and improve development efficiency. Follow this guide step-by-step, and you’ll have Jenkins running quickly.
If you found this guide helpful, consider sharing it with others!